Organisaties
Wat zijn organisaties?
Organisaties koppelen Bitwarden-gebruikers en kluisitems aan elkaar voor het veilig delen van logins, notities, kaarten en identiteiten. Organisaties hebben een unieke weergave, de beheerconsole, waar beheerders de items en leden van de organisatie kunnen beheren, rapportages kunnen uitvoeren en organisatie-instellingen kunnen configureren:

Leden van een organisatie vinden gedeelde items in hun kluisweergave naast persoonlijke items, en er zijn verschillende methoden om de itemlijst te filteren op alleen organisatie-items of items in bepaalde verzamelingen:

Soorten organisaties
Bitwarden biedt een verscheidenheid aan organisaties om te voldoen aan de behoeften van uw bedrijf of gezin. Voor uitsplitsingen per functie van elk organisatietype, zie Over Bitwarden-plannen.
Type | Beschrijving |
|---|---|
Vrije organisaties | Met gratis organisaties kunnen twee gebruikers veilig delen in maximaal twee collecties. |
Gezinsorganisaties | Gezinsorganisaties laten zes gebruikers veilig delen in een onbeperkt aantal collecties. |
Teams organisaties | Teams organisaties staan onbeperkte gebruikers toe (gefactureerd per gebruiker per maand) om veilig te delen in onbeperkte collecties en bieden een suite van operationele tools zoals event logs. |
Ondernemingsorganisaties | Enterprise-organisaties bieden onbeperkte gebruikers (gefactureerd per gebruiker per maand) de mogelijkheid om veilig te delen in onbeperkte collecties en voegen functies die alleen geschikt zijn voor bedrijven, zoals inloggen met SSO en beleidsregels, toe aan de suite van operationele tools van Bitwarden. |
Het belangrijkste om te weten is dat organisaties veilig delen van organisaties naar gebruikers mogelijk maken. Premium individuele plannen ontgrendelen eersteklas wachtwoordbeveiligings- en beheerfuncties, waaronder geavanceerde 2FA-opties, de Bitwarden authenticator (TOTP), versleutelde bestandsbijlagen en meer, maar premium individueel omvat niet het veilig delen van gegevens.
Betaalde organisaties (Families, Teams of Enterprise) beschikken automatisch over deze premium functies (geavanceerde 2FA-opties, Bitwarden authenticator (TOTP) en meer) voor elke gebruiker die is ingeschreven in de organisatie.
Organisaties vergelijken met providers
Providers zijn vault-administratieve entiteiten waarmee bedrijven zoals managed service providers (MSP's) snel meerdere Bitwarden-organisaties kunnen aanmaken en beheren namens zakelijke klanten.
Creëer een organisatie
Organisaties worden aangemaakt en beheerd vanuit de webapp. Als u nieuw bent bij Bitwarden, maak dan een account aan voordat u uw organisatie start en volg daarna deze instructies:
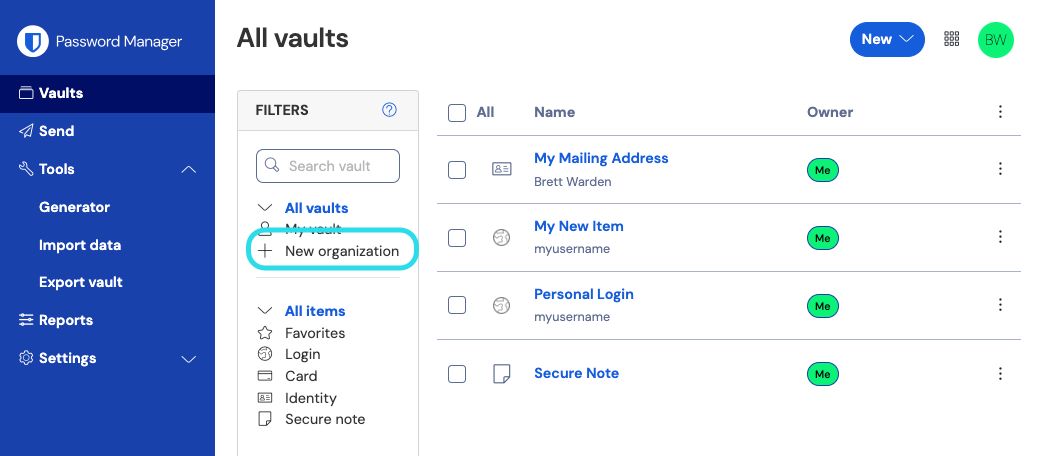
Selecteer de knop Nieuwe organisatie in de Bitwarden webapp:
Nieuwe organisatie Voer een organisatienaam en een e-mailadres voor facturering in waarop we je kunnen bereiken. Ontdek wat de houder van je factuure-mail mag doen.
Als u het selectievakje Deze account is eigendom van een bedrijf aanvinkt, worden uw opties gefilterd tot de opties die geschikt zijn voor bedrijven en wordt u gevraagd om een bedrijfsnaam op te geven, zodat we weten wie we moeten bedanken!
Kies je plan. Bitwarden biedt organisaties die geschikt zijn voor elke behoefte. Bekijk de uitsplitsing per functie om erachter te komen welke het beste bij jou past.
tip
All paid organization (Families, Teams Starter, Teams, or Enterprise) include premium features for all enrolled users!
Als je een gratis organisatie hebt gekozen, ben je helemaal klaar! Als je een van onze betaalde organisaties hebt gekozen,
Gezinnen/Teams/Enterprise: Je plan wordt geleverd met 1 GB versleutelde opslag voor bijlagen. Voeg extra opslagruimte (GB) toe voor $0,33 per GB per maand.
Teams/Enterprise: Geef het aantal gebruikersplaatsen op dat je nodig hebt voor je organisatie. Er worden plaatsen toegevoegd als je dit aantal overschrijdt, tenzij je een limiet opgeeft.
Teams/Enterprise: Kies of je jaarlijks of maandelijks wilt worden gefactureerd. Gezinsorganisaties kunnen alleen jaarlijks gefactureerd worden.
Zodra je tevreden bent met je organisatie, voer je je betalingsgegevens in en selecteer je Submit.
tip
New Families, Teams, and Enterprise organization have a seven day free trial built in! We won't charge you until your trial is over, and you can cancel your subscription at any time from the organization Settings tab.

Zodra je je organisatie hebt aangemaakt, maak je een collectie aan, nodig je gebruikers uit en kun je beginnen met delen.
Een organisatie upgraden
Als je je organisatie wilt upgraden naar een ander plan om de extra functies vrij te spelen:
Navigeer in de beheerconsole naar de weergave Facturering → Abonnement van uw organisatie.
Selecteer de knop Upgrade Plan.
Je kunt je organisatie alleen upgraden naar een hoger plan, bijvoorbeeld van Teams naar Enterprise. Als je een organisatie op deze manier opwaardeert, wordt er geen gratis proefperiode van 7 dagen gestart, zoals bij het aanmaken van een nieuwe organisatie.