Password Manager Desktop Apps
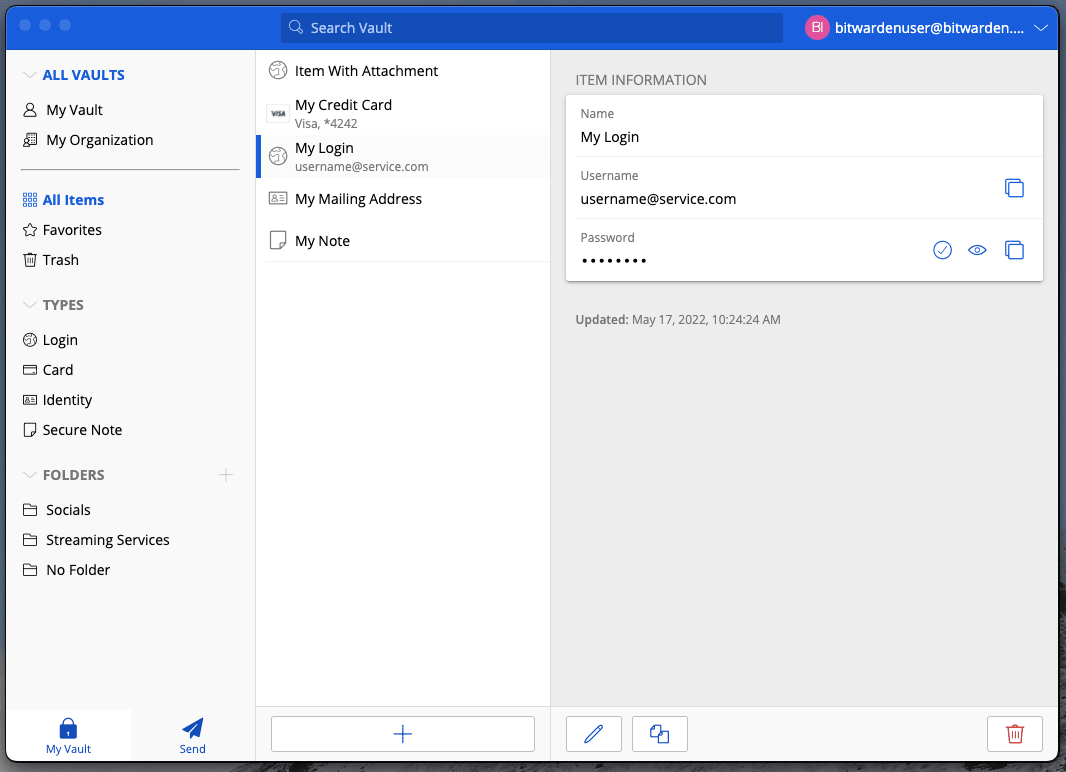
The Bitwarden desktop app brings a full vault experience straight out of your browser and into your desktop. The desktop app supports up to five logged-in accounts at a time, making it easy to switch between personal and work accounts at any moment (learn more).
In the My Vault view, you can browse all your items, including items owned by an organization that you are a member of. Use the Vaults dropdown to filter for items in All Vaults, My Vault, and any organization vaults.

Let's start your desktop app journey by adding a new login item to your vault and making sure it's secure and easy to find:
Folders are a great way to make sure you can always find vault items when you need to use them. To create a folder:
In the first column of the desktop app, select Add next to Folders.
Give you folder a name (for example
Social Media) and select Save.
Now, let's add a login to your new folder. To create a new login item:
In the middle column, select Add. An Add Item panel will be displayed in the third column.
Choose which type of item to create (in this case, select Login).
Enter the basic information for this login. For now, give the item:
A Name to help you easily recognize it (for example,
X.com Account).Your Username.
Your current Password (we'll replace this with a strong one soon).
Select the New URI button and enter the URL where you login to the account (for example,
https://x.com/i/flow/login).
X.com Login URI Select a folder from the Folder dropdown. If you are following our example, choose the Social Media folder we just created!
Nice work! Select Save to finish.
tip
You can also import data directly to Bitwarden from your desktop app. Learn how.
Now that you have saved a new login, let's improve its security by replacing your password with a strong one:
Open a web browser and login to the account with your existing username and password. In that account, find where you can Change your password.
On the Change your password form, enter your Current password, which you can copy and paste from Bitwarden using the Copy icon.
In Bitwarden, select Edit on your item.
In the Password box, select Generate and confirm Yes to overwrite your old password.
This will replace your password with a randomly-generated strong password. Moving fromFido1234toX@Ln@x9J@&u@5n##Bcan stop a would-be hacker in their tracks.Select Save.
Copy your new password with the Copy icon you used earlier, and paste your new password in the New Password and Confirm New Password fields back in your web browser.
Once you are done, select Save in the web browser.
Congratulations! Your login is now saved in Bitwarden for secure and easy use!
Do you have multiple Bitwarden accounts, perhaps one for personal use and one for work? The desktop app can be logged in to five accounts at once!
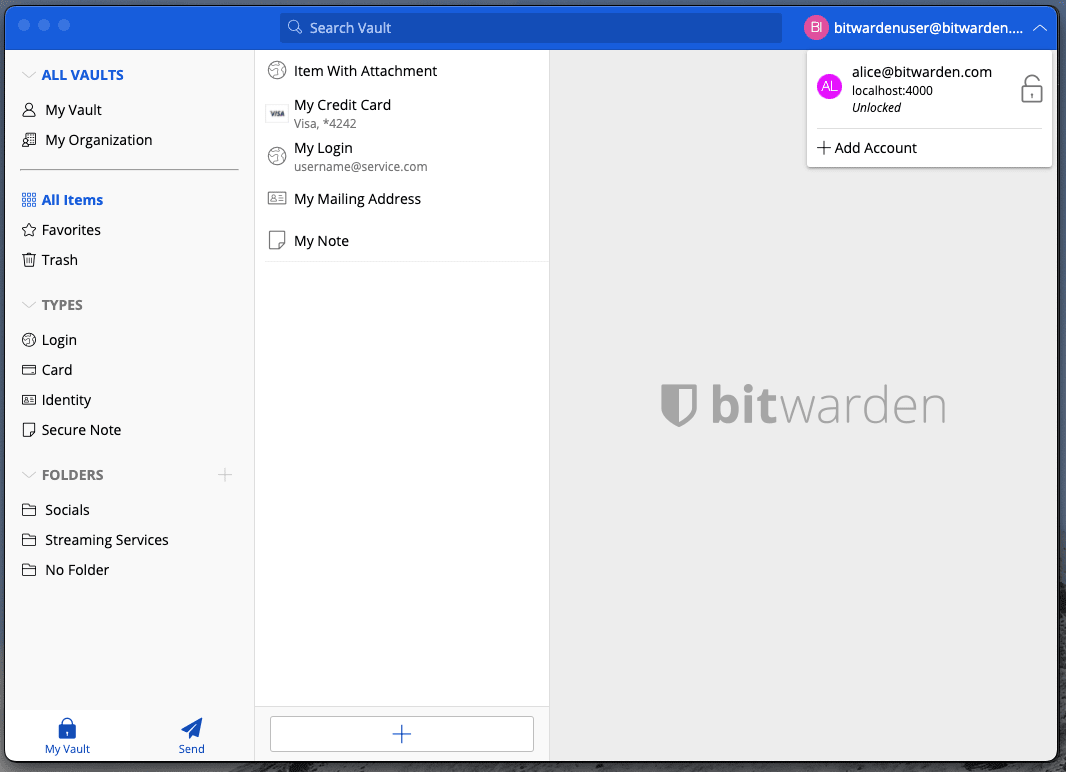
To login to an additional account, select the currently logged-in account from the top-right of the desktop app and select Add Account:

Once you log in to your second account, you can quickly swap between them from the same menu, which will also show the current status of each account's vault (locked or unlocked). If you log out of one of these accounts, it will be removed from this list.
Now that you have mastered the basics, you can customize your desktop app to work exactly the way you want it to:
Set your preferences
To set your preferences, select File → Settings from the menu bar. You'll notice three sections; Security, Preferences, and App Settings.
tip
Security and Preferences apply to the active account and should be set separately for each account, but App Settings apply to all accounts.
Unlock with biometrics
One of the most popular desktop app settings is unlock with biometrics, which allows for seamless access using Windows Hello with PIN, facial recognition, or other hardware that meets Windows Hello biometric requirements. To setup biometric unlock:
tip
Windows users may need to install the Microsoft Visual C++ Redistributable before Windows Hello can be turned on in desktop preferences.
Enable Windows Hello on your computer.
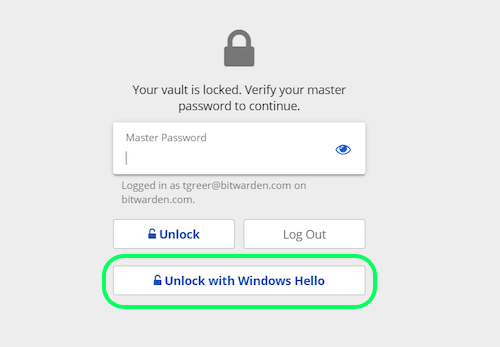
In the Security section, an Unlock with Windows Hello option will appear if Windows Hello is supported and enabled on your computer:

Windows unlock options Check the Unlock with Windows Hello option to proceed. Your computer will prompt you to input your biometric.
Once enabled, use the Unlock with Windows Hello button on the unlock screen to unlock your vault.

Security settings are set per-account, so if you want to enable biometric unlock for another account you'll need to go through these steps again!
Start Bitwarden automatically
Another helpful feature is to always start Bitwarden when you boot up your computer. To enable this, navigate to the App Settings section and check the Start automatically on login checkbox.
Unlike biometrics, this setting applies globally to all logged-in accounts!
Screen capture
By default, the Password Manager desktop app for Windows will not allow screen capture in order to protect your vault data. Your desktop app won't appear in captured screenshots, or in screen-sharing contexts like Google Meet and Slack huddles.
This behavior can be changed, for example in training your team to use the desktop app, by selecting File → Settings from the menu bar, scrolling App Settings, and selecting the Allow screen capture toggle.
Set your preferences
To set your preferences, select Bitwarden → Settings from the menu bar. You'll notice three sections, Security, Preferences, and App Settings.
tip
Security and Preferences apply to the active account and should be set separately for each account, but App Settings apply to all accounts.
Unlock with biometrics
One of the most popular desktop app settings is unlock with biometrics, which allows seamless access to your desktop app using Touch ID technology. To setup biometric unlock:
Enable Touch ID on your computer. See Apple's Touch ID Documentation for help.
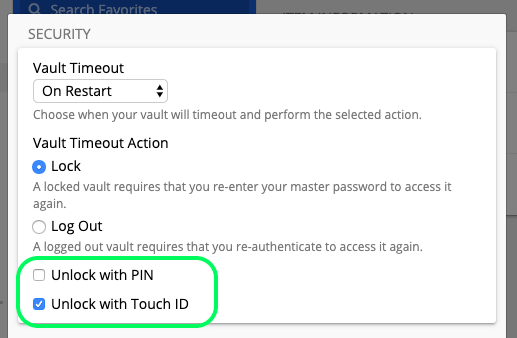
In the Security section, an Unlock with Touch ID option will appear if Touch ID is supported and enabled on your computer:

macOS unlock options Check the Unlock with Touch ID checkbox to proceed. Your computer will prompt you to input your fingerprint to confirm.
Once enabled, use the Unlock with Touch ID button on the Unlock screen to unlock your vault.

Security settings are set per-account, so if you want to enable biometric unlock for another account you'll need to go through these steps again!
Start Bitwarden Automatically
Another helpful feature is to always start Bitwarden when you boot up your computer. To enable this, navigate to the App Settings section and check the Start automatically on login checkbox.
Unlike biometrics, this setting applies globally to all logged-in accounts!
Screen capture
By default, the Password Manager desktop app for macOS will not allow screen capture in order to protect your vault data. Your desktop app won't appear in captured screenshots, or in screen-sharing contexts like Google Meet and Slack huddles.
This behavior can be changed, for example in training your team to use the desktop app, by selecting Bitwarden → Settings from the menu bar, scrolling App Settings, and selecting the Allow screen capture toggle.
Snap post-installation instructions
The Bitwarden Password Manager desktop app uses secure storage for persisting authentication tokens while you are logged in to the application. If you use Snap to install the desktop app, you will need to allow the app to access secure storage by:
On all distributions, run the command
sudo snap connect bitwarden:password-manager-service.If you've already logged in to the Password Manager desktop app, log out of all accounts and log back in.
Set your preferences
To set your preferences, select File → Settings from the menu bar. You'll notice three sections; Security, Preferences, and App Settings.
tip
Security and Preferences apply to the active account and should be set separately for each account, but App Settings apply to all accounts.
Unlock with biometrics
One of the most popular desktop app settings is unlock with biometrics, which allows seamless access to your desktop app. Bitwarden desktop apps from AppImage, Deb, and .rpm package types are supported. Additionally, confirm that your system has a polkit agent and secret service (such as GNOME-Keyring). To enable biometric unlock:
Enable System Authentication on your machine.
In the Security section of your Bitwarden desktop app, an enable Unlock with system authentication option will appear if system authentication is supported and enabled on your machine:

Unlock with system authentication Check the Unlock with system authentication checkbox to proceed. You machine will prompt you to input your verification to confirm.
Once enabled, use Unlock with system authentication button on the unlock screen to unlock your vault.

Unlock vault system authentication Security settings are set per-account, so if you want to enable biometric unlock for another account you'll need to go through these steps again!
Start Bitwarden automatically
One helpful feature is to always start Bitwarden when you boot up your computer. To enable this, navigate to the App Settings section and check the Start automatically on login checkbox.
Remember that this setting applies globally to all logged-in accounts!
Suggest changes to this page
How can we improve this page for you?
For technical, billing, and product questions, please contact support