JumpCloud SCIM Integration
System for cross-domain identity management (SCIM) can be used to automatically provision and de-provision members and groups in your Bitwarden organization.
note
SCIM Integrations are available for Enterprise organizations. Teams organizations, or customers not using a SCIM-compatible identity provider, may consider using Directory Connector as an alternative means of provisioning.
This article will help you configure a SCIM integration with JumpCloud. Configuration involves working simultaneously with the Bitwarden web vault and JumpCloud Portal. As you proceed, we recommend having both readily available and completing steps in the order they are documented.
note
Are you self-hosting Bitwarden? If so, complete these steps to enable SCIM for your server before proceeding.
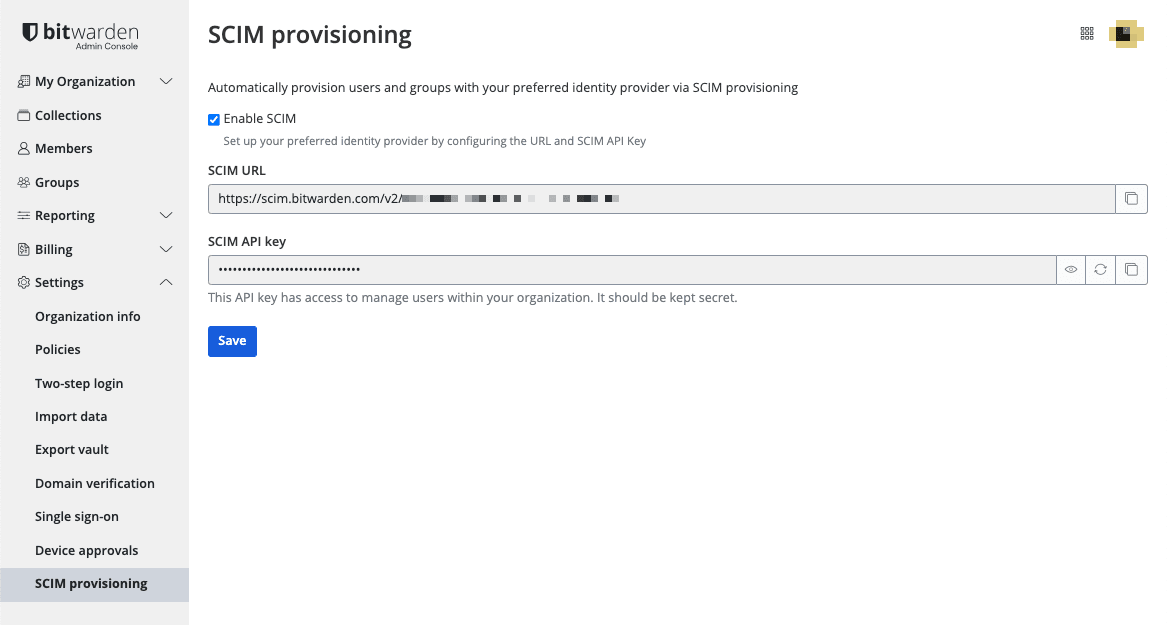
To start your SCIM integration, open the Admin Console and navigate to Settings → SCIM provisioning:

Select the Enable SCIM checkbox and take note of your SCIM URL and SCIM API Key. You will need to use both values in a later step.
tip
If you are already using this IdP for login with SSO, open that existing application and skip to this step. Otherwise, proceed with this section to create a new application.
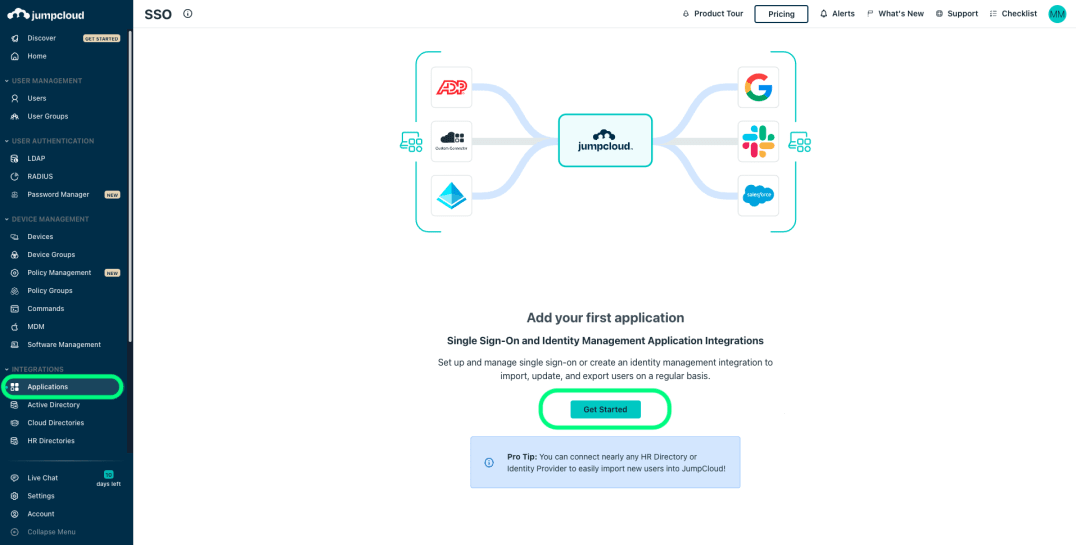
In the JumpCloud Portal, select Applications from the menu and select the Get Started button:

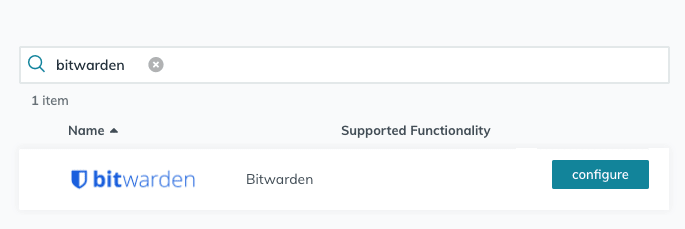
Enter Bitwarden in the search box and select the configure button:

In the General Info tab, give the application a Bitwarden-specific name.
If you plan on using JumpCloud for single sign-on, select the SSO tab and setup SSO with these instructions. When you are done, or if you are skipping SSO for now, select the activate button and complete the confirmation modal.
Re-open the application and navigate to the Identity Management tab. Expand the Configuration Settings box and enter the following information:
Field | Description |
|---|---|
Base URL | Enter the SCIM URL (learn more). |
Token Key | Enter the SCIM API Key (learn more). |
Once you have configured these fields, select the Activate button. Once the test comes back successfully, select Save.
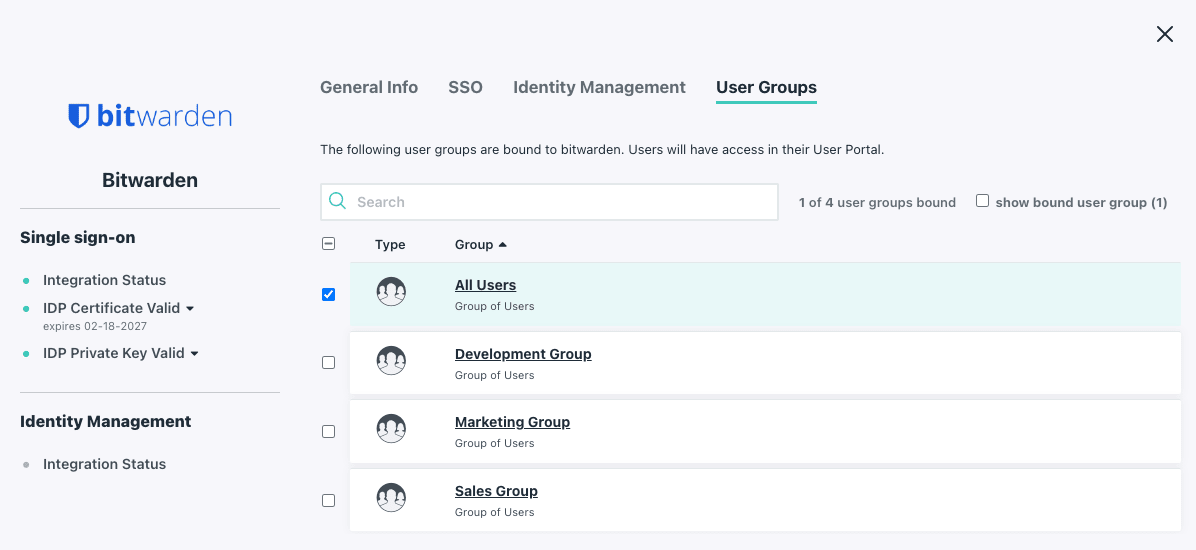
In the User Groups tab, select the Groups you would like to provision in Bitwarden. Once you select the Save button, provisioning according to this specification will begin immediately.

Now that your users have been provisioned, they will receive invitations to join the organization. Instruct your users to accept the invitation and, once they have, confirm them to the organization.
note
The Invite → Accept → Confirm workflow facilitates the decryption key handshake that allows users to securely access organization vault data.
Bitwarden uses standard SCIM v2 property names, however these may differ from JumpCloud property names. Bitwarden will use the following properties for each user:
Bitwarden Attribute | JumpCloud Default Property |
|---|---|
|
|
|
|
|
|
ª - Because SCIM allows users to have multiple email addresses expressed as an array of objects, Bitwarden will use the value of the object which contains "primary": true.
Bitwarden will use the following properties for each group:
Bitwarden Attribute | JumpCloud Default Property |
|---|---|
|
|
|
|
ª - Memberships are sent to Bitwarden as an array of objects, each of which represent a user who is a member of that group.
Suggest changes to this page
How can we improve this page for you?
For technical, billing, and product questions, please contact support